How to install Kodi on Windows. A Step-by-Step Guide
Kodi is a free and open-source Digital media entertainment center application. Kodi is a non-profit project created by a group of like-minded programmers in 2023. Kodi has won numerous awards, including Lifehacker in 2014. Users can access and play various streaming media, including videos, music, podcasts, and internet videos, as well as common digital media files from local and network storage media, and also watch live programs. Through its native clients and parsers, Kodi can play/view any common multimedia formats. It can decode these audio and video formats in software or hardware. Even if the files are stored in ISO and IMG DVD images or DVD-Video (IFO, VOB, or BUP) images (even directly from uncompressed RAR and ZIP archives), Kodi will access them. Kodi is compatible with a variety of operating systems and hardware platforms. So just download and experience the power of Kodi; you will love the difference.
How to Install Kodi on Windows?
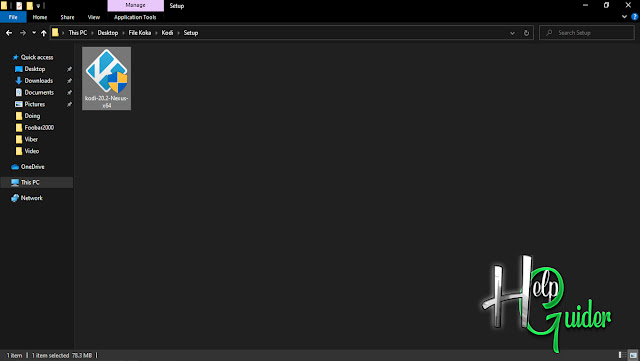
First, download the
Kodi application for Windows, which is compatible with your PC.
After you have downloaded the setup, Click and run the Setup.
Click “Yes” for the administration's approval.
Then Kodi will start the Kodi setup installation.
Click “Next” for the next step of the installation.
After that, you will
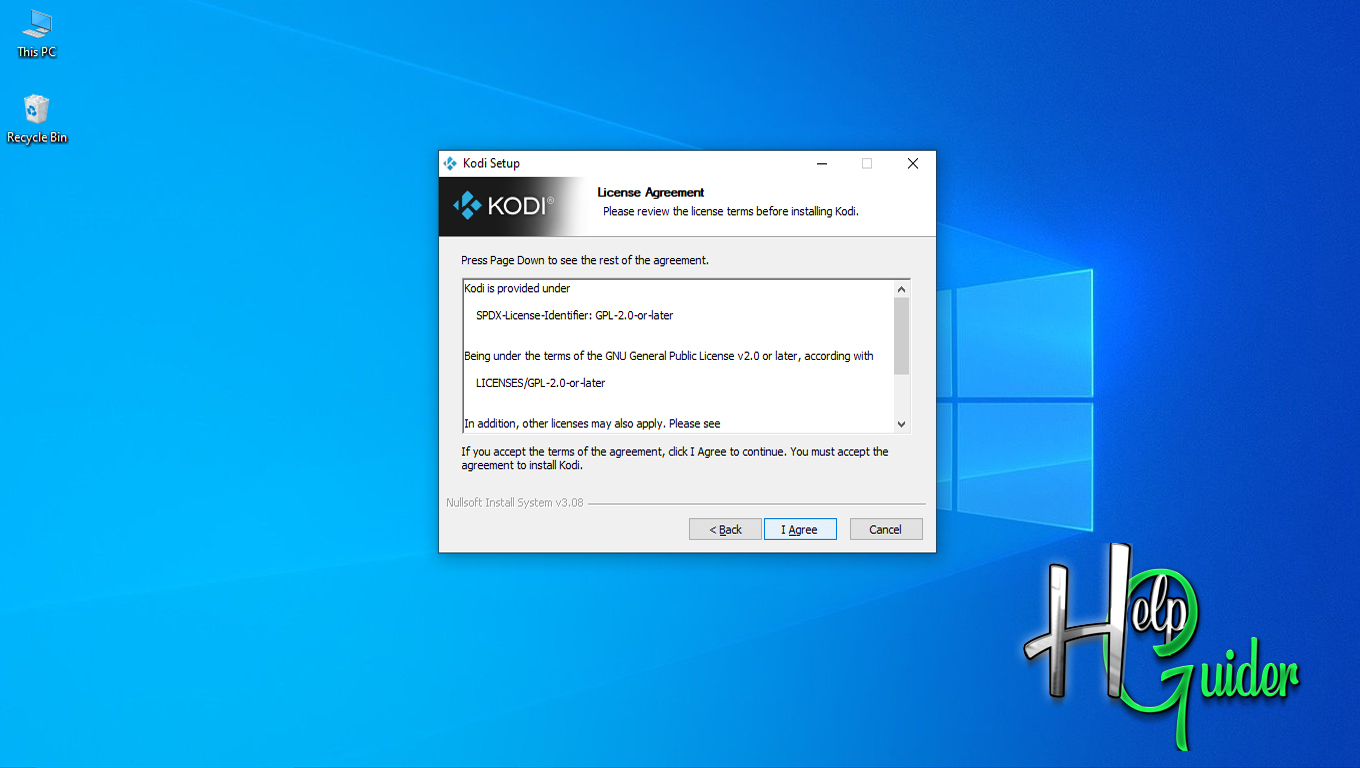
see the “License Agreement”. Read the agreement before you go to the next step.
If you do not
“Agree” with the agreement, click “Cancel” to end the installation process. If you
accept the terms of the agreement, click “I Agree” to continue the installation.
Choose components
Select the type (full, normal, minimal, or custom) you want to install. Or Check the components you want to install and uncheck those you do not want to install.
After that, click
Choose the location.
Choose the folder
where you want to install Kodi, and Click “Browse”.
Select the destination
folder and click “OK”. (The default location is recommended.)
After you're done, click "Next.”
Choose Start Manu
Folder
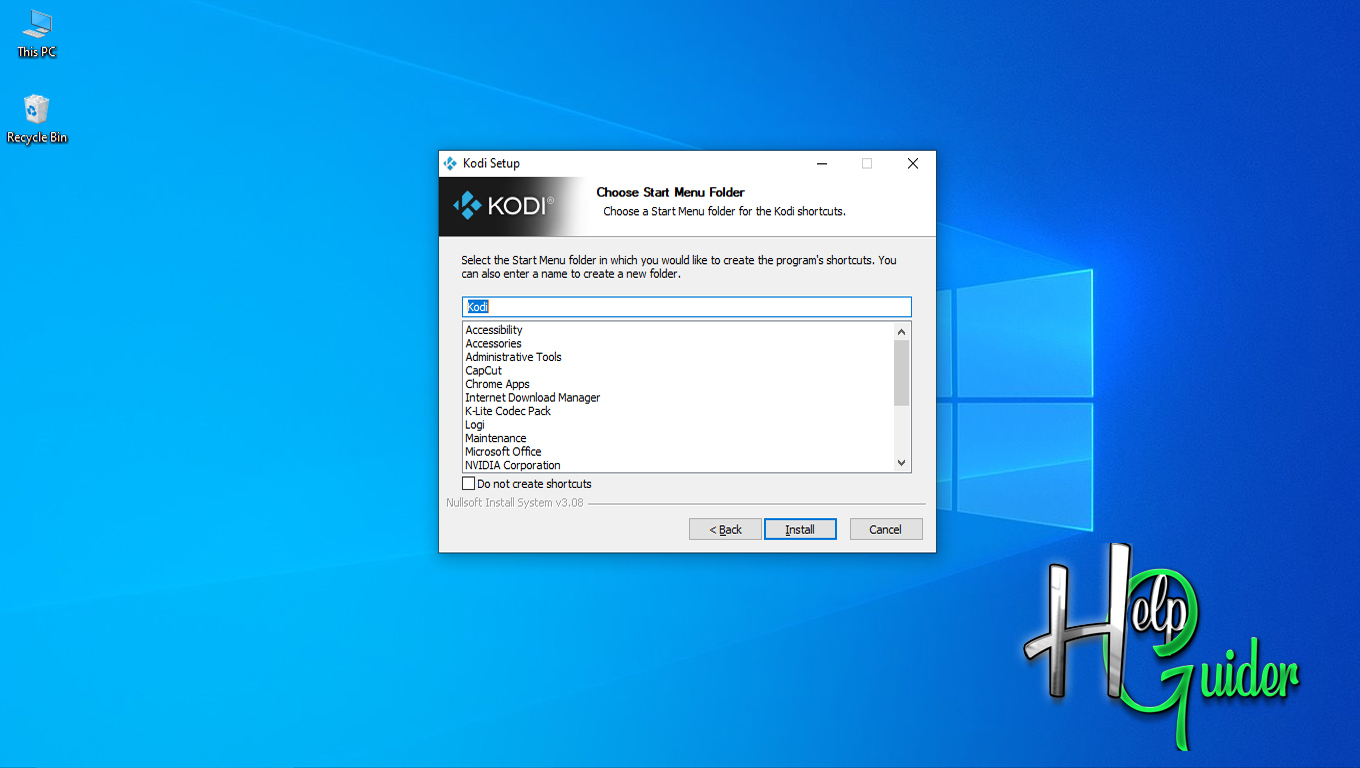
Select the start menu folder to create a
program’s shortcuts.
You can name that folder.
If you do not need to create shortcuts, check “Do not create shortcuts”.
Once you are done, click “Install.”
After you click "Install,” the installation process will start.
The installation part will not take long, so be patient,
after the installation finished,
If you wish to run Kodi after installation, check “Run Kodi”, and click Finish. The Kodi application will run for you.
If you do not want to run Kodi after installation, uncheck “Run Kodi”, and click Finish.


